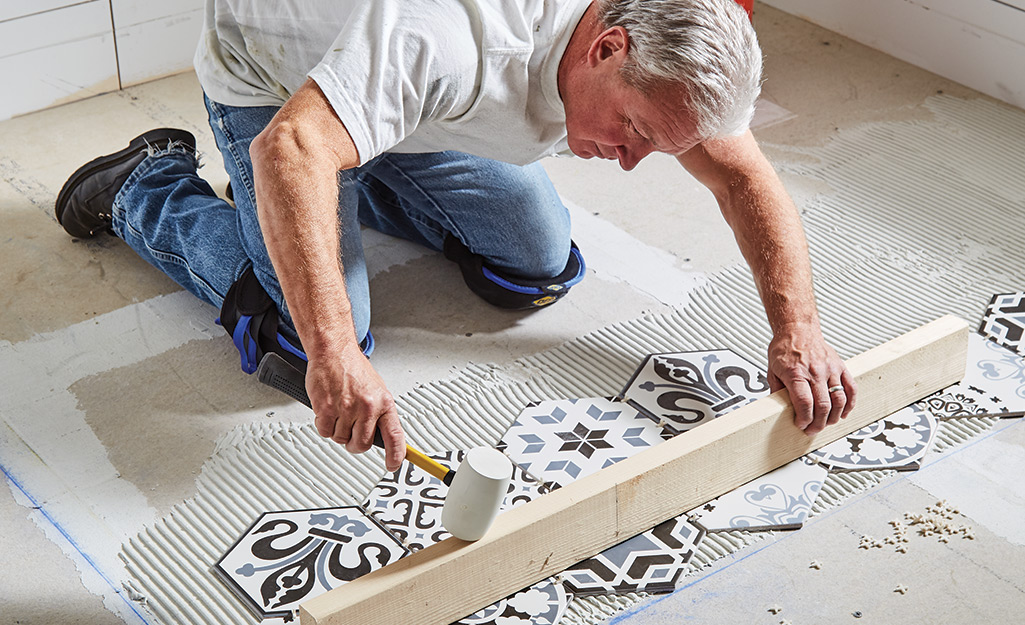
Installing ceramic flooring is a rewarding project that can transform the look and feel of any space. While it requires precision and patience, the process can be manageable with the right approach. This step-by-step guide will help you understand how to install ceramic flooring effectively.
Step 1: Prepare the Subfloor
1. Clean the Subfloor
Ensure the subfloor is clean, dry, and level. Remove any debris, dust, or old adhesive to create a smooth surface for the new tiles.
2. Repair Damages
Check for any cracks or imperfections in the subfloor. Repair these issues to ensure a stable and even foundation for the tiles.
Step 2: Plan the Layout
1. Measure the Area
Measure the room to determine the number of tiles needed. Consider the layout and the direction you want the tiles to be installed.
2. Dry Lay the Tiles
Lay out the tiles without adhesive to visualize the final look. This helps in making adjustments and ensures a balanced design, especially around edges and corners.
Step 3: Apply the Adhesive
1. Mix the Adhesive
Follow the manufacturer’s instructions to mix the adhesive. It should have a smooth, workable consistency.
2. Spread the Adhesive
Using a notched trowel, spread the adhesive evenly on a small section of the floor. Work in small areas to prevent the adhesive from drying out before the tiles are placed.
Step 4: Lay the Tiles
1. Place the First Tile
Start from the center of the room or the most visible corner. Press the first tile firmly into the adhesive, ensuring it is level.
2. Continue Laying Tiles
Continue laying tiles, using spacers to maintain consistent gaps for grout lines. Check each tile for level and alignment as you go.
3. Cut Tiles for Edges
Use a tile cutter or wet saw to cut tiles to fit along edges and corners. Measure carefully to ensure precise cuts.
Step 5: Grout the Tiles
1. Mix the Grout
Prepare the grout according to the manufacturer’s instructions. It should have a smooth, peanut butter-like consistency.
2. Apply the Grout
Using a rubber float, spread the grout over the tiles, pressing it into the gaps. Work in small sections and wipe off excess grout with a damp sponge.
Step 6: Clean and Seal
1. Clean the Tiles
After the grout has set, clean the tiles with a damp sponge to remove any haze. Buff with a dry cloth to restore their shine.
2. Seal the Grout
Once the grout is fully cured, apply a grout sealer to protect it from stains and moisture.
Conclusion
Installing ceramic flooring involves careful preparation, precise execution, and attention to detail. By following this step-by-step guide, you can achieve a professional-looking finish that enhances the beauty and functionality of your space. For high-quality ceramic tiles and reliable advice, consider Club Ceramic flooring. With the right tools and techniques, you can transform your floors and enjoy the benefits of durable and stylish ceramic tiles.


